Hyperrealism: How Artists Create Stunningly Real Art
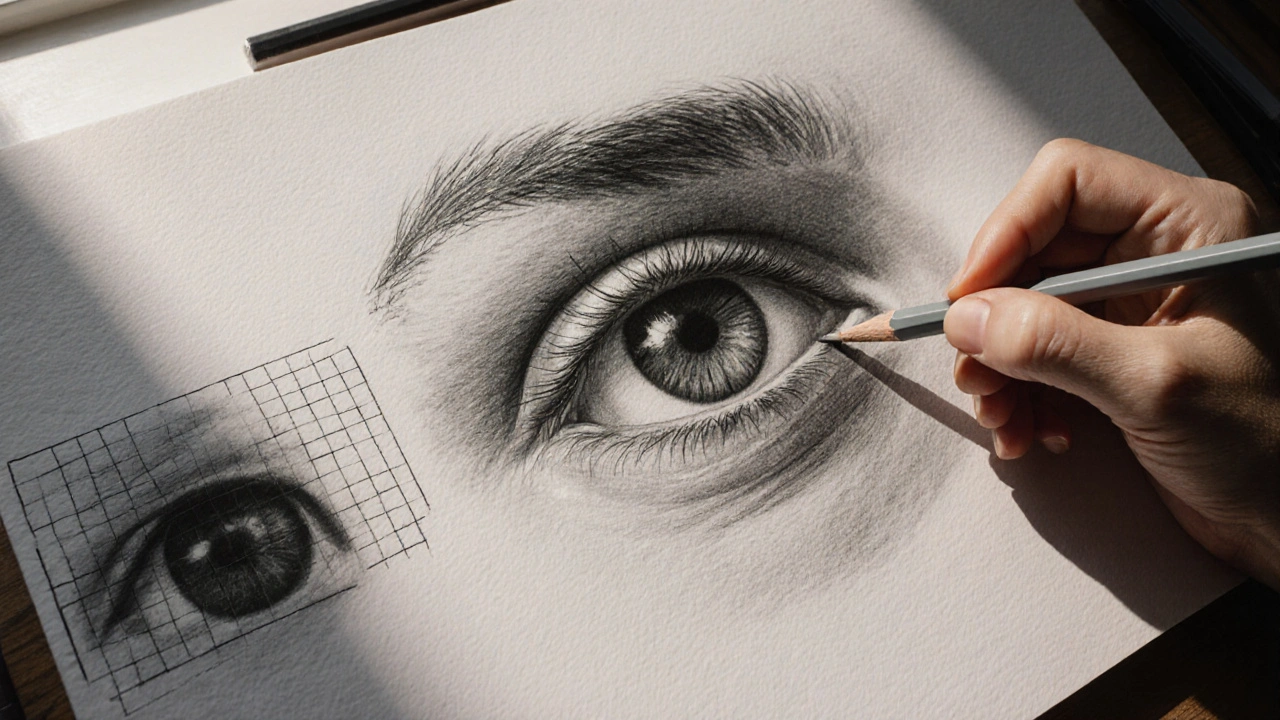
Hyperrealism can trick your eyes — paintings and sculptures so detailed you expect them to blink. This art pushes technical skill: artists capture reflections, skin pores, and tiny scratches with calm patience and the eye of a photographer. If you want to try hyperrealism or just understand it, focus on three things: precise observation, layered technique, and tight control of value and color.
Techniques that matter
Hyperrealism begins with a strong photo reference. Use high-resolution images shot in steady light. Print references large or view them on a big screen. Study how light defines form: where highlights flare, where midtones flatten, and where tiny cast shadows live. Before touching paint, make a tonal map — sketch the darkest darks and brightest lights. This map becomes your guide.
Technique matters more than fancy tools. For oil painters, thin layers and glazing build depth. Acrylic artists use slow-drying retarder or water-mixable oils to gain time. Colored pencil and graphite demand burnishing and tiny strokes that follow form. Always work from general to specific: block in shapes, refine edges, then add microscopic details like hair strands, dust, or pores. Use soft brushes for smooth blends and single-hair brushes for tiny highlights.
Control edges and temperature to sell realism. Hard edges make objects feel sharp and near; soft edges push things back. A slightly warmer highlight against a cool shadow reads as believable skin or metal. Check your values by squinting or converting the reference to grayscale. If it reads correctly in tone, color adjustments become easier.
Tools and habits that help: use a mahlstick or steady hand rest, magnifying glass for tiny details, and a spotter lamp to recreate the same light. Keep a clean workspace and fresh brushes to avoid muddy colors. Photograph your work often; photos reveal value and color issues your eye misses.
Where to study and practice
Where to study hyperrealism? Look at artists such as Richard Estes for city scenes, Chuck Close for portrait detail, Tjalf Sparnaay for food and reflections, Roberto Bernardi for glossy still lifes, and Omar Ortiz for soft, luminous figures. Follow modern makers on Instagram under tags like #hyperrealism and #hyperrealist. Visit contemporary galleries and local art fairs; seeing scale and surface in person teaches more than screens.
Want a quick practice exercise? Take a closeup photo of a simple object — an apple, a glass, or a shoelace. Spend one hour blocking tones, five hours refining, and the last two hours adding textures and tiny highlights. Limit your palette to three colors plus black and white so you learn mixing values before chasing color complexity.
Hyperrealism is demanding but rewarding. It trains your eye and expands what you can render. Try one focused study and you’ll notice your general painting skills improve fast.
Track your time and work in short focused sessions to avoid burnout. Invest in good lighting and color-correct bulbs. When finished, varnish or fixative protects the surface and deepens tones. Share process photos — people love before-and-after progress and you learn from feedback and grow.


