Art Techniques: Practical Tips and Where to Start
Want faster improvement in your art? Pick one technique and practice it with purpose. Stop hopping between styles and spend focused time on brushwork, composition, or color. Start small: study one painting, copy a section, and note how the artist handled edges, light, and texture.
Tools matter less than choice and repetition. Use whatever materials you already have. Set a short daily goal—twenty minutes of focused work on that technique. Track progress by taking a photo each week and comparing changes.
Core techniques to try
Value and contrast: Practice making smooth shifts from dark to light. This is the backbone of realism and dramatic scenes. Try a grayscale study of a simple object to train your eye.
Brushwork and mark-making: Experiment with different strokes on scrap paper. Thick bold strokes suit expressionism; small precise strokes build photorealism. Keep a sheet where you label which brush and pressure made each mark.
Composition: Learn the rule of thirds and how to place the focal point. Chop a painting into three vertical and horizontal zones to test balance. Move the subject off-center and see how tension changes.
Color mixing: Limit your palette to three colors plus white for a week. Mixing fewer pigments forces better understanding of temperature and tone. Practice making a range of neutrals from your chosen colors.
How to learn from art history
Pick a movement that interests you—Bauhaus, Cubism, Baroque, or Fluxus—and copy one element into your work. Want cleaner forms? Borrow Bauhaus simplicity. Want emotion and wild color? Try Expressionist brushwork. Historical moves are not rules; they are tools to borrow.
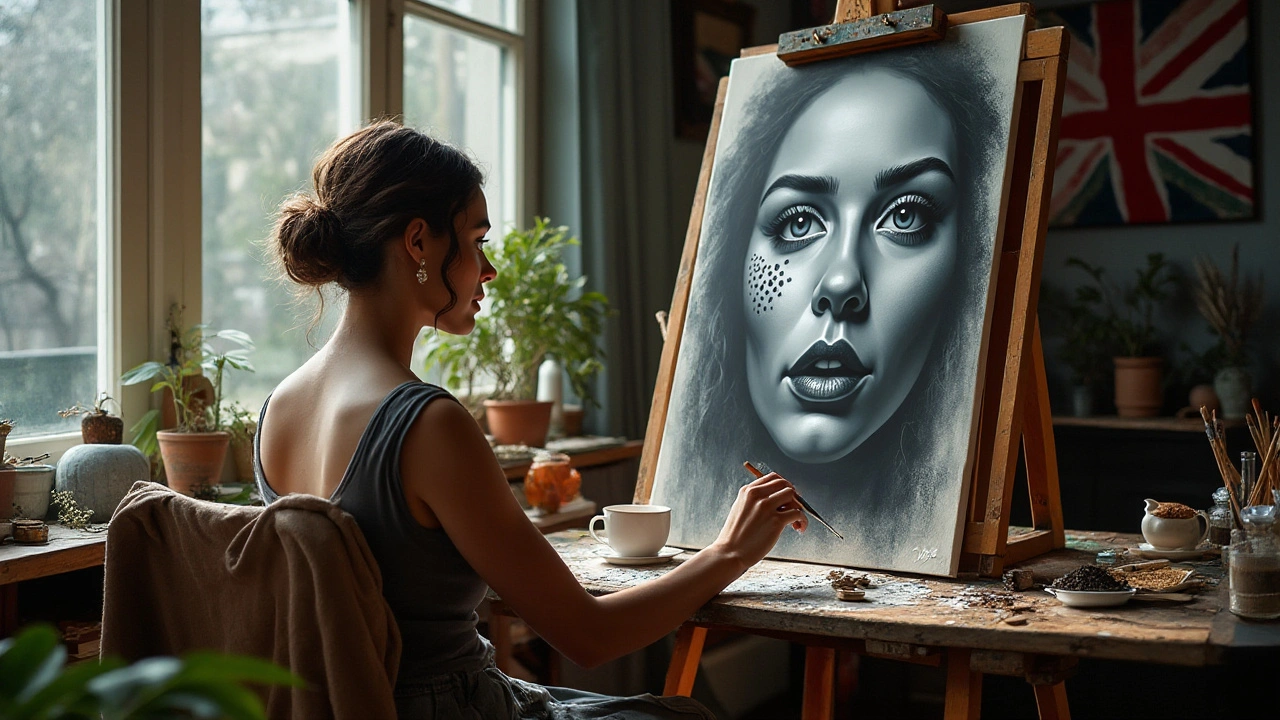
Study one artist closely. If you like photorealism, copy a small section from a photorealist and notice layering and glazing. If installation art attracts you, think about scale and viewer interaction when planning your piece.
Practice with purpose. Instead of random sketches, set a challenge: recreate an old master’s light in three attempts. Note what changed between tries and write one sentence about the main lesson after each session.
Get feedback fast. Share images with a small group or an online forum focused on technique. Ask specific questions: “Is my edge too hard?” or “Does my light read correctly?” Vague praise won’t help you improve.
Finally, make technique a habit, not a hobby. Block regular practice into your calendar, limit distractions, and focus on measurable goals. Small, daily improvements add up faster than occasional long sessions. Keep a simple notebook with weekly goals and one clear focus for each session.
Try simple exercises to lock learning. Do ten-minute value studies for a week, limit your palette for three paintings, and make five thumbnails before any larger work. Record what worked and what failed. Visit tutorials on photorealism for layering tips, check Bauhaus pieces for clean structure, or study installation art to plan viewer interaction. Use the site’s tag list to jump between these topics and copy one idea directly into your next piece. Then repeat daily with notes consistently.